iTop Main Screen
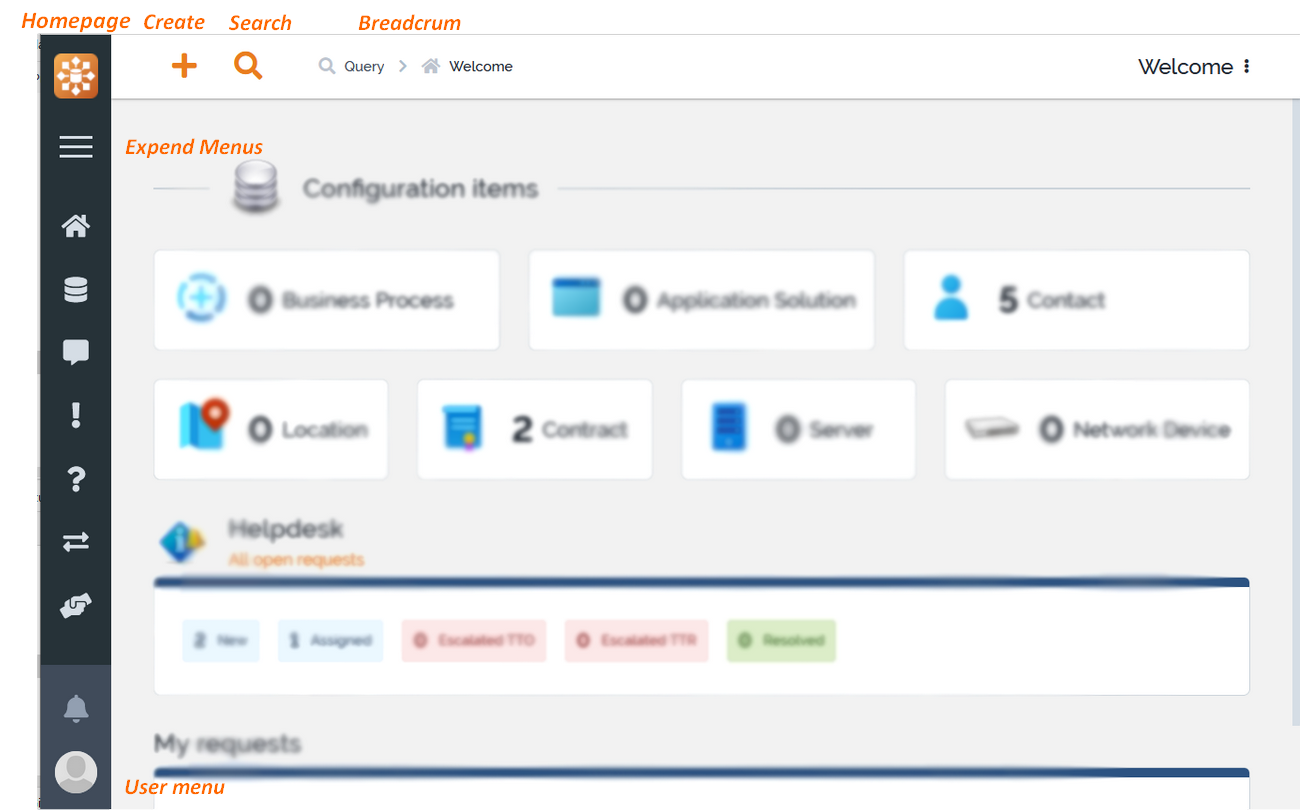
The picture below shows the main screen of the application, it contains all the standard elements of the iTop screens:
User menu
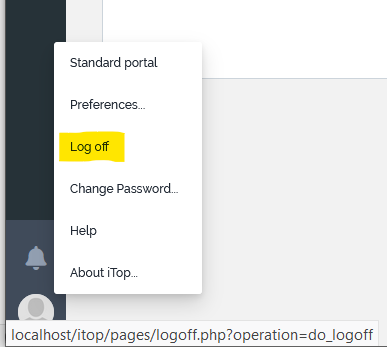
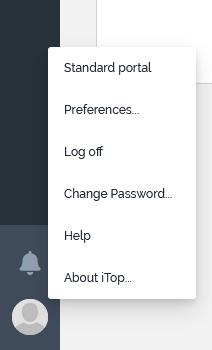
At the bottom left of the page, a popup menu is accessible by
clicking on the user icon: ![]()
-
It displays the associated person and login of the connected user
-
If this user is an administrator for the application, this is also shown on this line.
The pop-up menu proposes Actions. Clicking on them will launch the action corresponding to this menu item.
-
Standard Portal is proposed if the user is allowed to switch from the Console to the Portal.
-
If your iTop has other Portals installed and available to the current user, they will be displayed there as well
-
-
Preferences is for managing your user preferences in the application (language, display setting, shortcuts, favorite organizations, etc.)
-
Log off is for terminating your session with iTop
-
Change Password is for changing your iTop password.
-
Help redirects you to the online iTop wiki, available on iTop Hub (supposes that the user as Internet access)
-
About iTop displays information about the installed version of iTop.
Standard Portal
See Portal User Guide for how to use the iTop User Portal, which is another iTop interface, simplified, targeted for clients and end-users as a self-service portal.
User Preferences
See next chapter for managing your preferences
Disconnecting from iTop
-
Select the menu
-
then you get a confirmation message, which allow you to connect again
Changing your password
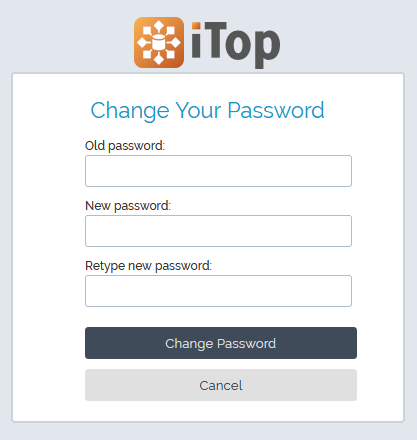 Click on the
Change Password menu item, to display the
change password form:
-
Type your
old passwordin the Old password field. -
Next, in the New password field below, type the new password.
-
There can be password complexity rule defined by your iTop administrator,
-
By default it's more than 8 characters, with at least one digit, one uppercase letter, one lowercase letter and one special character.
-
The complexity rule is checked on new password only so your old password might not have been compliant.
-
-
Retype the new password in the third field.
-
When this is done, click Change Password to validate your change.
About iTop
The Menu bar
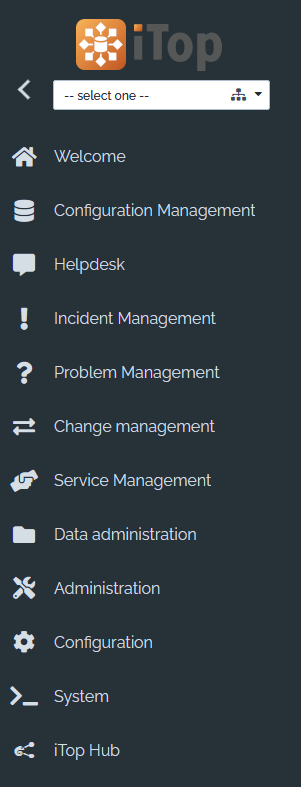
On the left of the screen, a expendable bar contains the Menus for the application. This is the entry point to most iTop features.
The menus groups include icons and can be shrunk to display just the icons, thus gaining space for the valuable information
Welcome
A quick way to go back to iTop homepage!
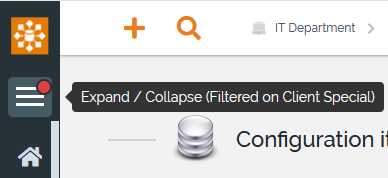
Expand & Collapse
-
When the menubar is expended, it displays a text along with the group icons.
Opening one Menu group
When you click on a menu group icon or title, it opens a second
bar of menus with all the sub-menus of that group. 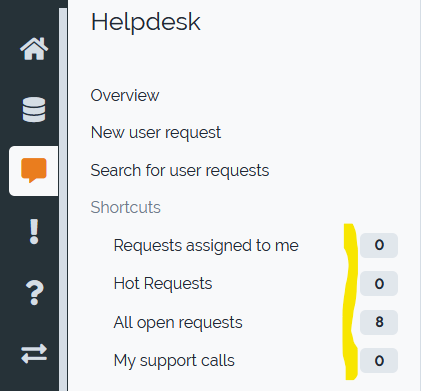 For the sub-menus which
are of type predefined queries, then the number of objects returned
by the query is displayed:
-
Exact number of objects when the result is below 100,
-
Otherwise
99+is displayed, indicating that they are more than 99, but for performance reason, the exact count has not been performed.
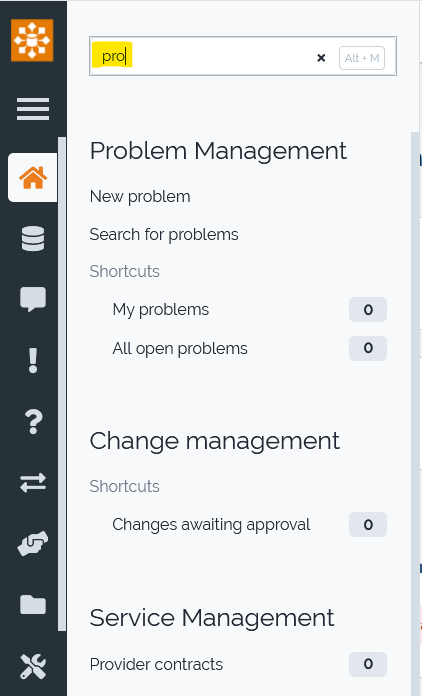
Search in menus
Maybe you know a particular sub-menu title, but you can't remember under which icon/main menu it is located.
-
Click on any menu group and see at the top of the column which just appeared, the grey filter zone
-
Then enter some characters to filter the menus containing that string
-
A white-space character, displays all menus
-
select in the filtered list of menus, the one you want
A shorter way to do this just using the keyboard is to
-
Press
Alt+Mon Chrome to search in menus without the mouse (You can change this shorcut keys in your user preference, as it collapse with a Firefox shortcut for eg.) -
Enter part of the searched menu name
Organizations
Many of the objects managed in iTop belong to an Organization. Organizations are the main means to arrange objects in iTop. For example the access control is based on Organizations: a given user may be allowed to access only a given set of Organizations. Moreover the Organizations Selection menu at the top of the menu allows the end-user to limit the current display to the context of the given Organization. Once an Organization is selected, this “context” information is kept from page to page. To reset the context and display again all iTop objects, simply select “All Organizations” in the drop-down list.
It is sometimes desirable to shorten the list of Organizations displayed in the drop-down box. For instance, you may need to view only your customers of interest. Refer to Managing your preferences for more information about how to configure the list.

