Portal: How to add a browse mode
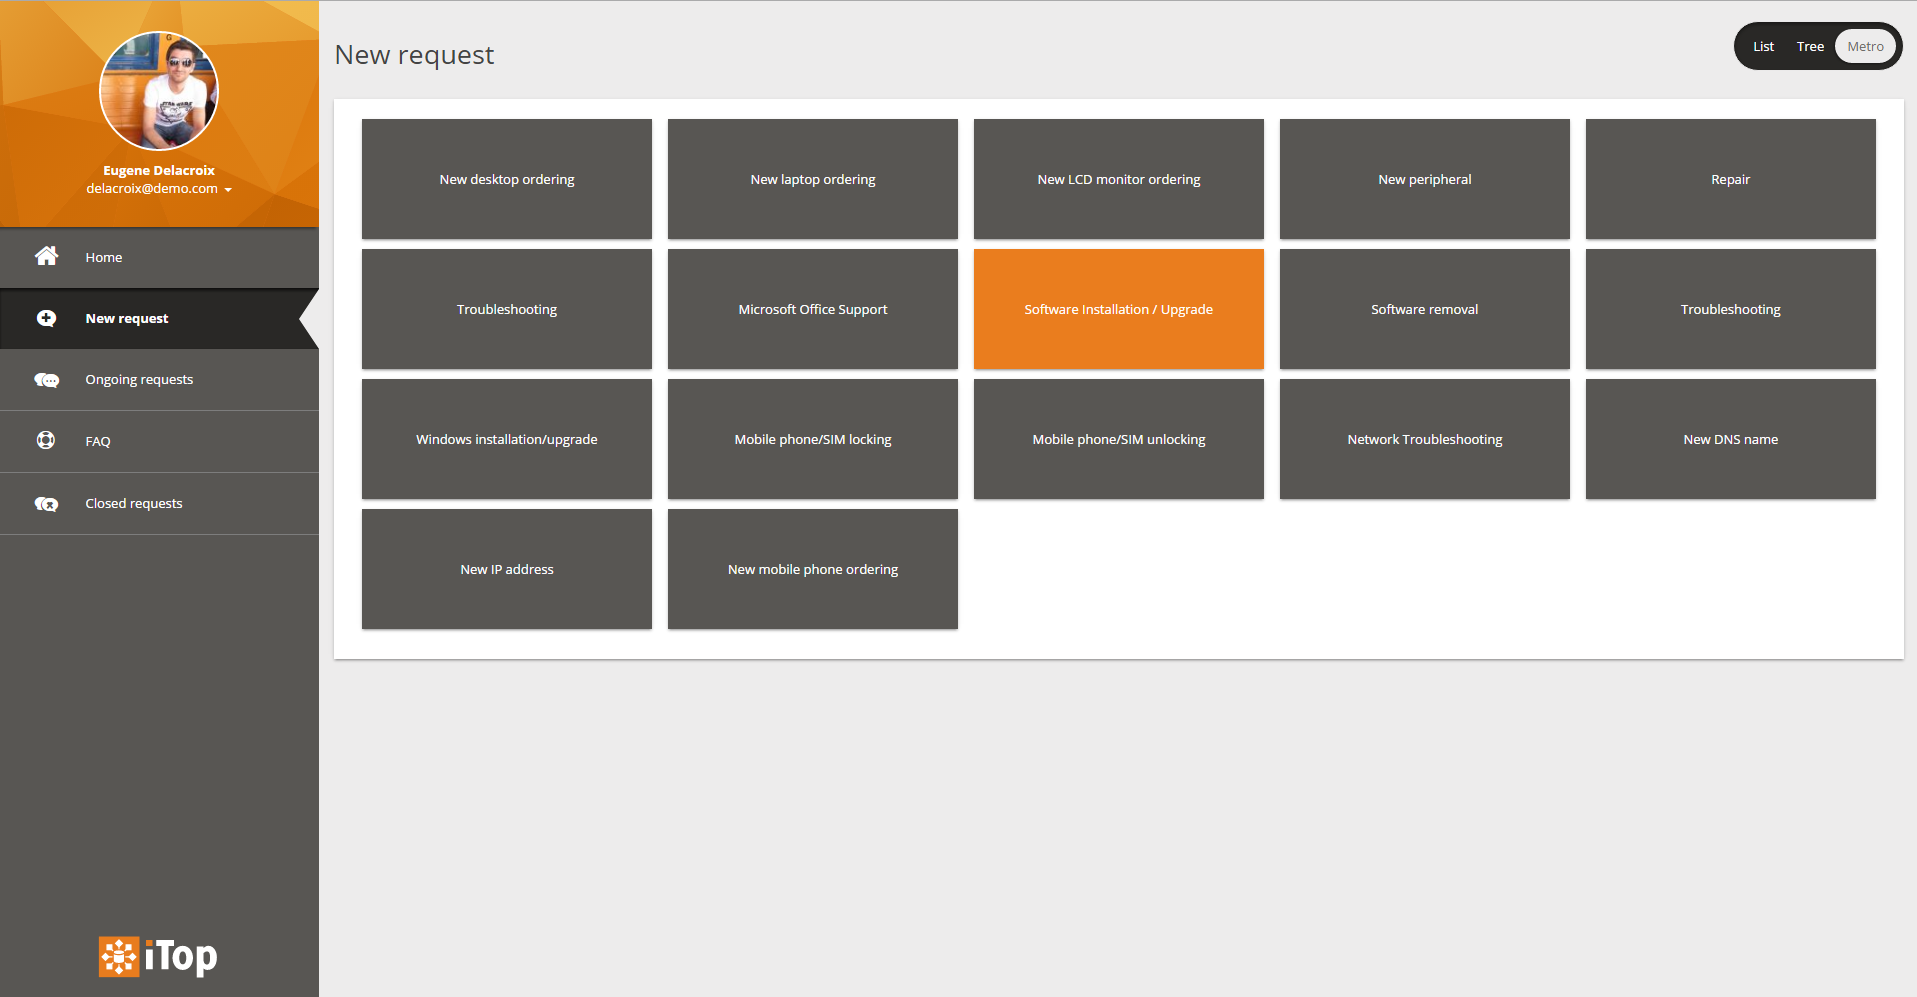
In this How to, we will add a new way of browsing objects in the BrowseBrick. This example will be about the Microsoft Metro UI but you can do whatever you want (eg. a carousel).
- name:
- How to add a browse mode
- type:
- How To
- audience:
- Administrator, Integrator, Developer
- level:
- Advanced
- duration:
- 60min
- keyword:
- Portal, Customization
- iTop version:
- 2.3.0
Prerequisites
What you will need to:
-
Know how to make an iTop extension and upgrade your system,
-
Have an iTop system with the demo data and the enhanced portal installed,
-
Have access to an account with enough rights to connect to the portal (usually this means having the
Portal
User
profile), -
Have some knowledge of the
twigandCSSlanguages if you want to customize this sample.
Aim of this tutorial
In this tutorial, you will learn how to:
-
Add a new browse mode to the existing BrowseBrick, which looks like the following screenshot:
Step by step instructions
Creating the extension
First, we need to create an iTop extension that will alter the portal XML configuration to define which theme to use. Check the Extension modules part from the customization guide (iTop Customization) if necessary.
-
Name the extension as sample-portal-add-browse-mode-to-browse-brick.
-
Remove the main.sample-portal-add-browse-mode-to-browse-brick.php file as we won't need any PHP code.
Creating the template
Now that the extension is made, we need to make the template that will be rendered for that browse mode. Start by choosing a name for this mode, in this example we chose metro.
Then create a twig file named browsebrick-mode-metro.html.twig and copy paste the code below. (Note that the file's name is not important)
- browsebrick-mode-metro.html.twig
-
{# itop-portal-base/portal/src/views/bricks/browse/mode_tree.html.twig #}
{# Browse brick tree mode layout #}
{% extends 'itop-portal-base/portal/src/views/bricks/browse/layout.html.twig' %}

{% block bBrowseMainContent %}
    <div id="brick-content-metro">
    </div>
{% endblock %}

{% block pPageLiveScripts %}
    {{ parent() }}

    <script type="text/javascript">
        var browseMode = '{{ sBrowseMode }}';
        var levelsProperties = {{ aLevelsProperties|raw }};
        var rawDatas = {{ aItems|raw }};

        $(document).ready(function(){
            for(var i in rawDatas)
            {
                var itemKeys = Object.keys(rawDatas[i]);
                var itemLastLevelAlias = itemKeys[itemKeys.length - 1];

                $('<div class="browse-element vertical-center">'+rawDatas[i][itemLastLevelAlias].name+'</div>').appendTo('#brick-content-metro');
            }
            $('<div style="clear: both"></div>').appendTo("#brick-content-metro");
        });
    </script>
{% endblock %}
If you are not familiar with the twig language, you will find its documentation here.
At the beginning we extend the BrowseBrick layout so we don't have to redefine the whole page template. Then we put some markup to define the objects container and a javascript snippet to parse the json data and fill the container.
Now, create a css file in order to apply some style on the template. Name it browsebrick-mode-metro.css and copy/paste the following code :
- browsebrick-mode-metro.css
-
#brick-content-metro{
        padding: 20px;
}
#brick-content-metro .browse-element{
        float: left;
        margin: 0 0.5% 10px 0.5%;
        width: 19%;
        height: 120px;
        text-align: center;
        background-color: #EA7D1E;
        color: #FFFFFF;
        box-shadow: 0 2px 2px 0 rgba(0, 0, 0, 0.14), 0 3px 1px -2px rgba(0, 0, 0, 0.2), 0 1px 5px 0 rgba(0, 0, 0, 0.12)
}
#brick-content-metro .browse-element:hover{
        opacity: 0.85;
        transition: all linear 0.2s;
}
Your folder should look like this :
Changing the portal configuration
Now that we have the extension ready, we just need to make an XML delta and change the portal configuration to use it. Open the datamodel.sample-portal-add-browse-mode-to-browse-brick.xml file and paste the following code:
- datamodel.sample-portal-add-browse-mode-to-browse-brick.xml
-
<?xml version="1.0" encoding="UTF-8"?>
<itop_design xmlns:xsi="http://www.w3.org/2001/XMLSchema-instance"  version="1.0">
  <module_designs>
    <module_design id="itop-portal" xsi:type="portal">
      <properties>
        <themes>
          <theme id="sample-portal-add-browse-mode-to-browse-brick" _delta="define">sample-portal-add-browse-mode-to-browse-brick/browsebrick-mode-metro.css</theme>
        </themes>
      </properties>
      <bricks>
        <brick id="services" xsi:type="Combodo\iTop\Portal\Brick\BrowseBrick">
          <browse_modes>
            <availables>
              <mode id="metro" _delta="define">
                <template>sample-portal-add-browse-mode-to-browse-brick/browsebrick-mode-metro.html.twig</template>
              </mode>
            </availables>
          </browse_modes>
        </brick>
      </bricks>
    </module_design>
  </module_designs>
</itop_design>
This adds a theme node to the portal for the brick's css and a mode node to the available browse modes of the brick. Just make sure the path containing the extension and file name are the same as on your system, then we can go to the final step.
Upgrading the system
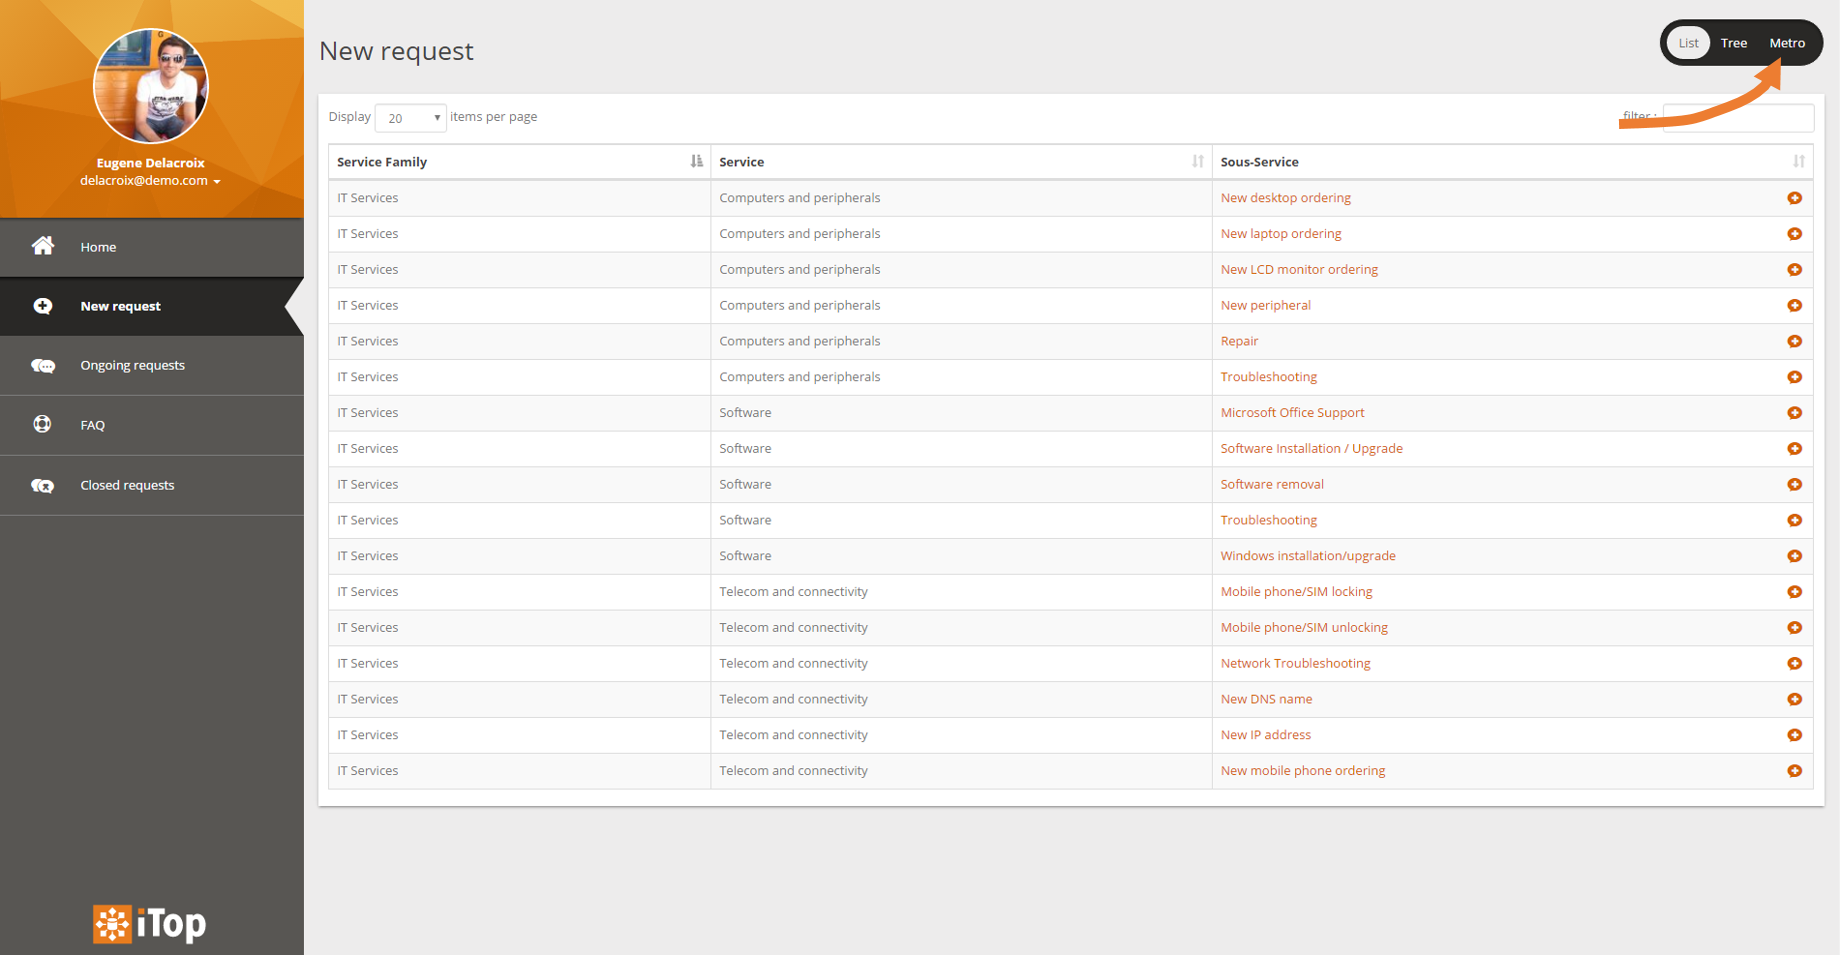
Finally run an upgrade of your iTop system with the new extension option checked and access the portal. You will see that the new mode is now available on the top right corner of the “New request” brick.
Downloads
You can find this extension here: sample-portal-add-browse-mode-1.0.1-156.zip


