Notifications: a step by step example
This chapter explains, step by step, how to configure a notification in order to send an email when a User Request is assigned to an agent. The notification will be sent to the “Agent” to which the ticket has just been assigned.
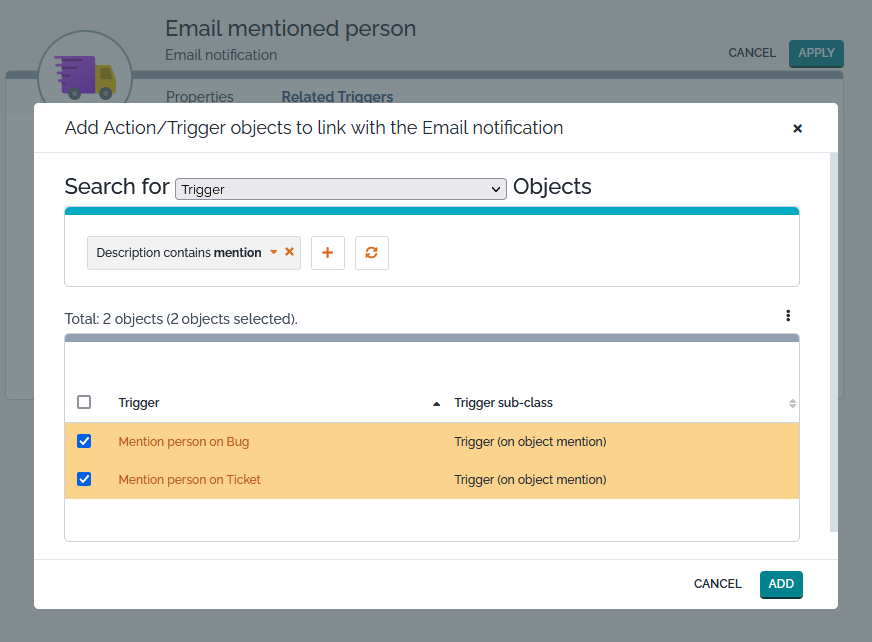
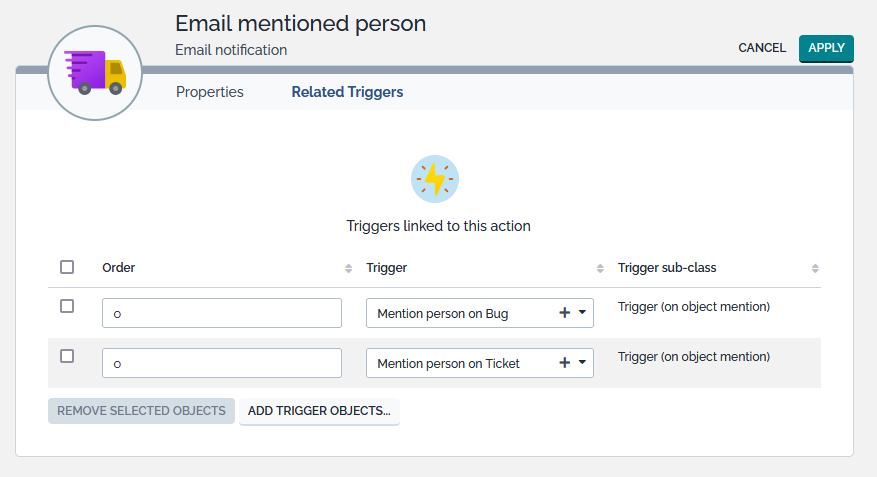
Go to the “Admin tools / Notifications” page, in the “Triggers” tab click on the “Create a new Trigger” link (if there are no triggers already) or click on the “New…” button to create a new Trigger.
Create a Trigger
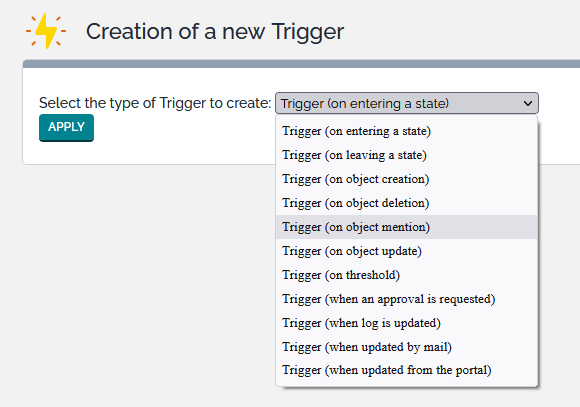
When prompted about the type of Trigger to create, select the type of Trigger you need:
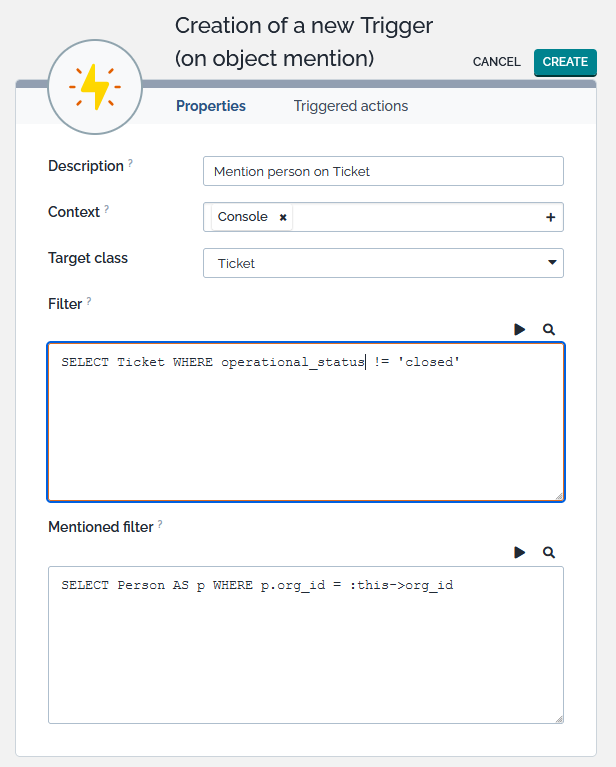
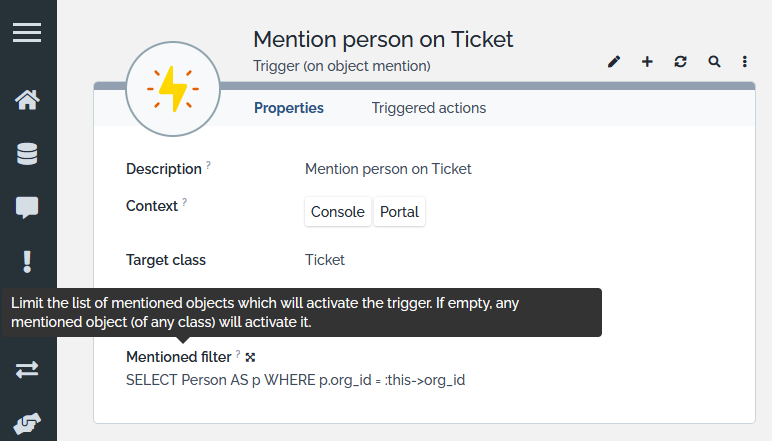
Click apply to pick this type of Trigger, and when prompted fill the requested fields, some can be Trigger specific:
Then click Create
Create an Email Action
Then using the breadcrum, go back to the Notifications screen (You can also use again the “Notifications” menu)
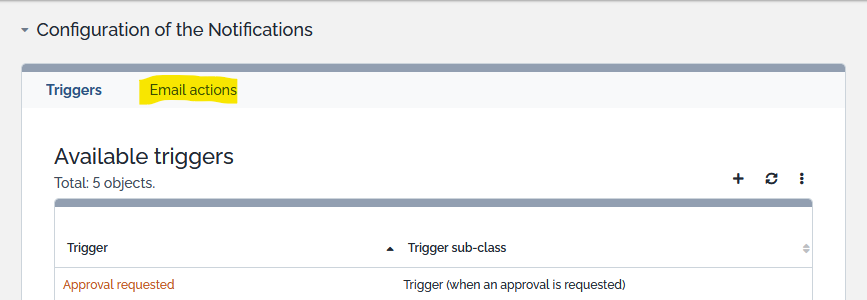
In the Notifications screen, jump to the Email actions tab
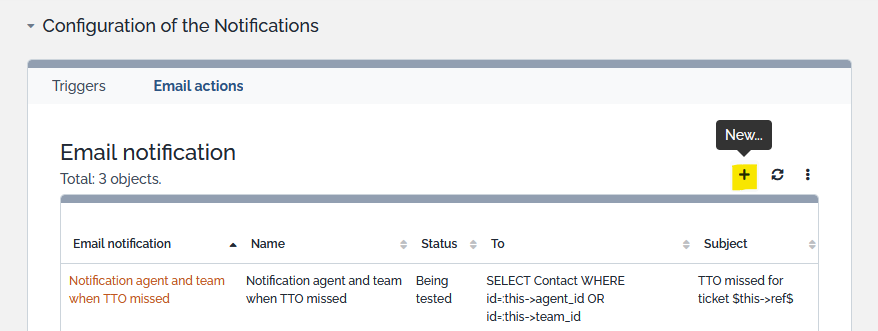
and click the  to create a
new Email Action.
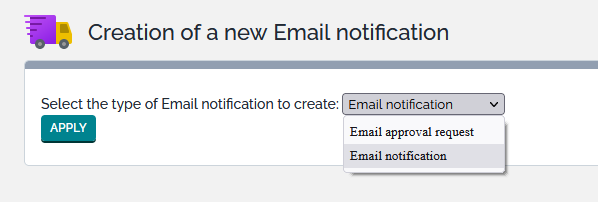
Select the type of Email actions you want
Fill the fields:
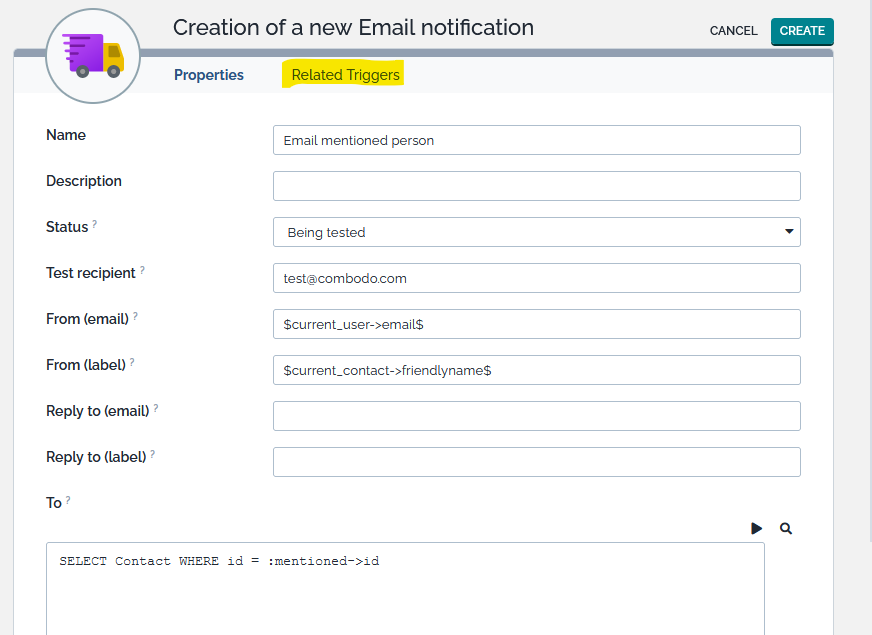
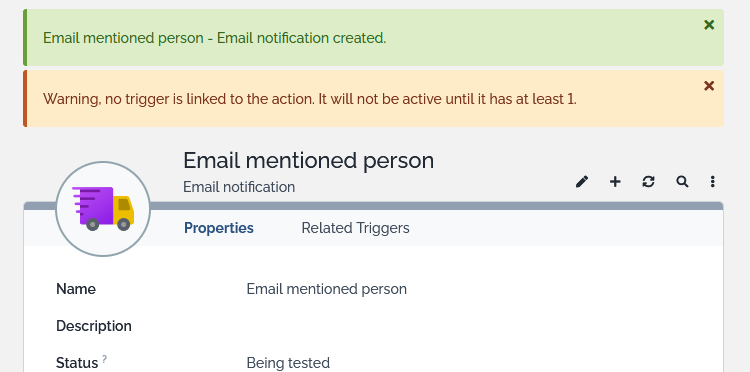
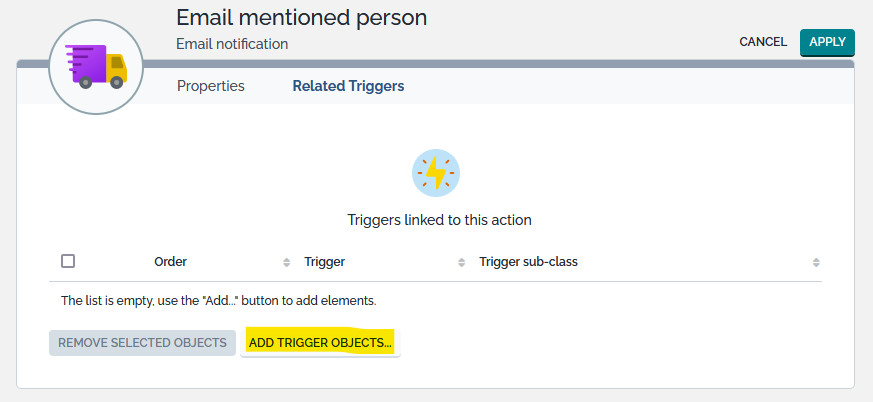
If you press Create at that stage, without linking any Trigger, you will get a warning message:
