Request Templates
- name:
- Request Templates
- version:
- 1.0.5
- release:
- 2015-11-26
- description:
- Display additional fields to portal users, depending the selected service
- itop-version:
- 2.0.2, 2.0.3, 2.1.0, 2.2.0
- keyword:
- request, template
- dependencies:
- itop-service-mgmt/2.0.0 or itop-service-mgmt-provider/2.0.0, itop-request-mgmt/2.0.0 or itop-request-mgmt-itil/2.0.0
- download:
- https://store.itophub.io/en_US/products/combodo-customized-request-forms
- code:
- combodo-customized-request-forms
- alternate-name:
- Request Templates
This module provides the capability to add additional fields for a user request on the user portal in order to better qualify it. For instance define the number of cpu, the size of RAM and the type of OS when a user request a new virtual machine.
Features
This module supports the following types of additional fields:
-
Date and Date Time
-
String (formated with regular expression if needed)
-
Text area
-
CSv list
-
List based on OQL query
-
Duration
A request template is related to a service sub category
Once defined, the fields defined in the template are automatically display on the user portal.
Revision History
| Version | Release Date | Comments |
|---|---|---|
| 1.0.5 | 2015-11-26 | Fix for crash when submitting a ticket from the portal for a template with an ENUM field containing some special characters. |
| 1.0.4 | 2015-09-29 | Fix for a crash when a “drop-down list” field contains some weird characters (accents, question marks…) at the beginning of the list of values. |
| 1.0.3 | 2014-12-10 | Cosmetics on the module name. |
| 1.0.2 | 2014-04-03 | Minor fix to allow non admin users to import Template fields in CSV. |
| 1.0.1 | 2014-03-10 | Bug fix for template fields with the same name as an attribute of the object. |
| 1.0.0 | 2014-02-05 | First version, never validated. |
Limitations
This feature is available only in the user portal. It is not possible to add additional fields in the standard iTop support agent interface.
It is NOT possible to use a template field with the same code as an attribute of the ticket (title, description urgency or priority), unless you are running an iTop 2.0.3 or more recent version (fixed on 2014-03-11, revision 3097 in SVN)
Requirements
No requirement
Installation
-
Download the package: itop-request-template.zip and expand the 2 folders “template-base”, “itop-request-template” into the “extensions” directory of iTop.
-
If you have already installed iTop, make sure that the configuration file
config-itopinconf/productionis NOT read-only. -
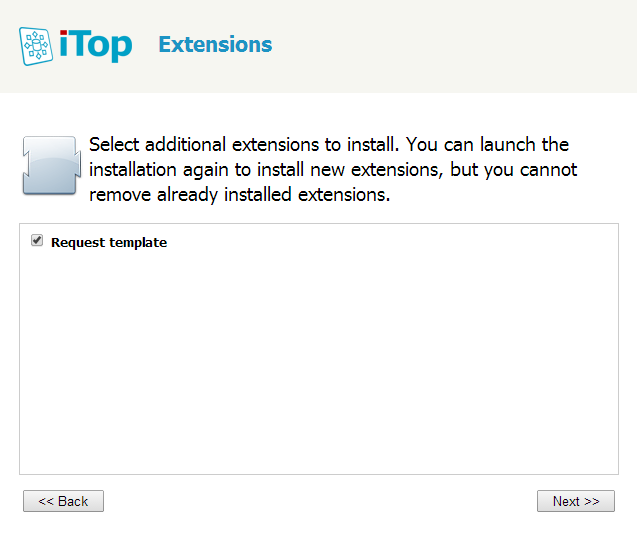
Finally check the module “Request template” in the list of extensions at the end of the interactive wizard. Then complete the installation.
Configuration
no configuration
Usage
Create request template
From the Service Management menu, click on “Request template”:
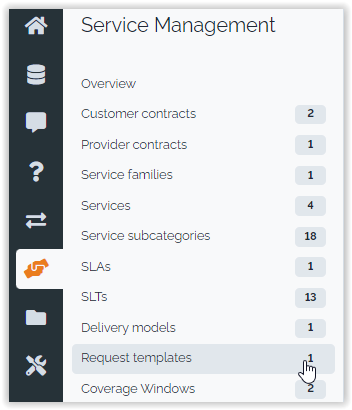
The pages show a list of already defined request templates. Click on the button “new” to create a new one:
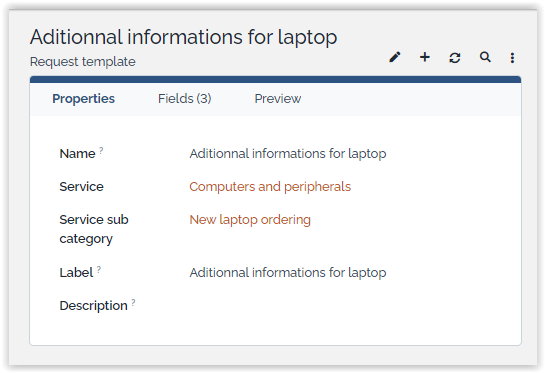
A request template is identified by its name the related service and service sub category.
The label is used on the portal to select a template if several are defined for a given service sub category.
The tab “Fields” is used to define the fields of the template:
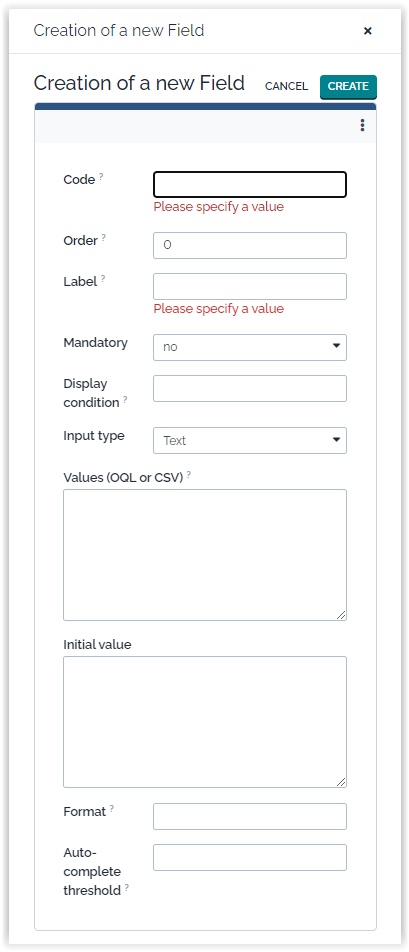
Click on “Create a new field” to define a new one:
A field is identified by its code. The label is used to display the field on the portal.
-
The “order” is an integer that defines in which order the fields are displayed on the user portal.
-
“Value OQL or CSV” is used for drop-down lists only to define the list of allowed values for this element. This can be either a comma separated list of values (e.g. “
high,medium,low”) or an OQL (e.g. “SELECT Service WHERE org_id = 12”). -
“Initial value” is used to set an initial value for text or text area fields
-
“Format” allows you to define a regular expression for validating text fields (e.g. “
/^[a-zA-Z]$/”)
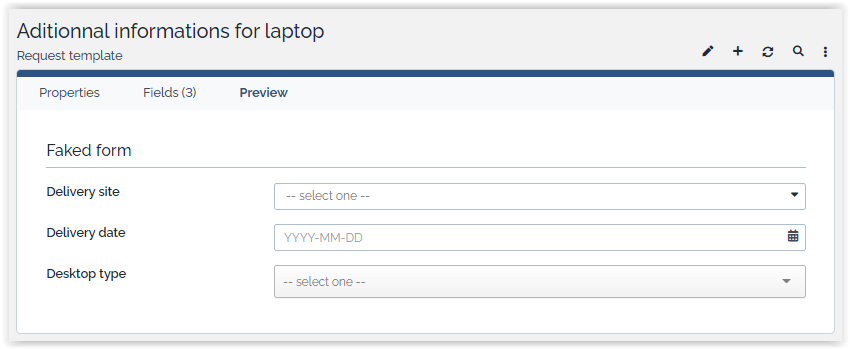
The tab “Preview” displays a preview of the template as it will be displayed on the user portal:
Behavior on the user Portal
If a end-user selects a service sub-category on the user portal which is related to a request template, the specific fields for this template are displayed, prompting to enter the additional information.
This additional information is copied in the Public log when the User Request is created.
It is also possible for a Support Agent to see the extra information in the tab “Extra Data” in the details of the User Request.

