iTop and IIS
Directories access protection
iTop packages are bundled with web.config files to protect critical directories and files access.
Max execution time
If you are running iTop on IIS with PHP running in FastCGI mode, be aware that IIS imposes its own limit to the maximum execution time of a CGI process. By default this limit is configured to 300 seconds. This means that, even if you configure in PHP.ini maximum_execution_time to a value greater than 300 seconds, the CGI process will be stopped by IIS after 300 seconds.
When performing bulk and lengthy operations interactively (such as mass modifications, mass deletions or CSV import), iTop extends the PHP maximum execution time automatically, in order to prevent the operation from being interrupted before its completion. This has no effect on the limit imposed by IIS, and though the task may still be killed after 5 minutes.
Refer to the IIS documentation for how to modify this timeout limit: Configure CGI Time-out Settings (IIS 7)
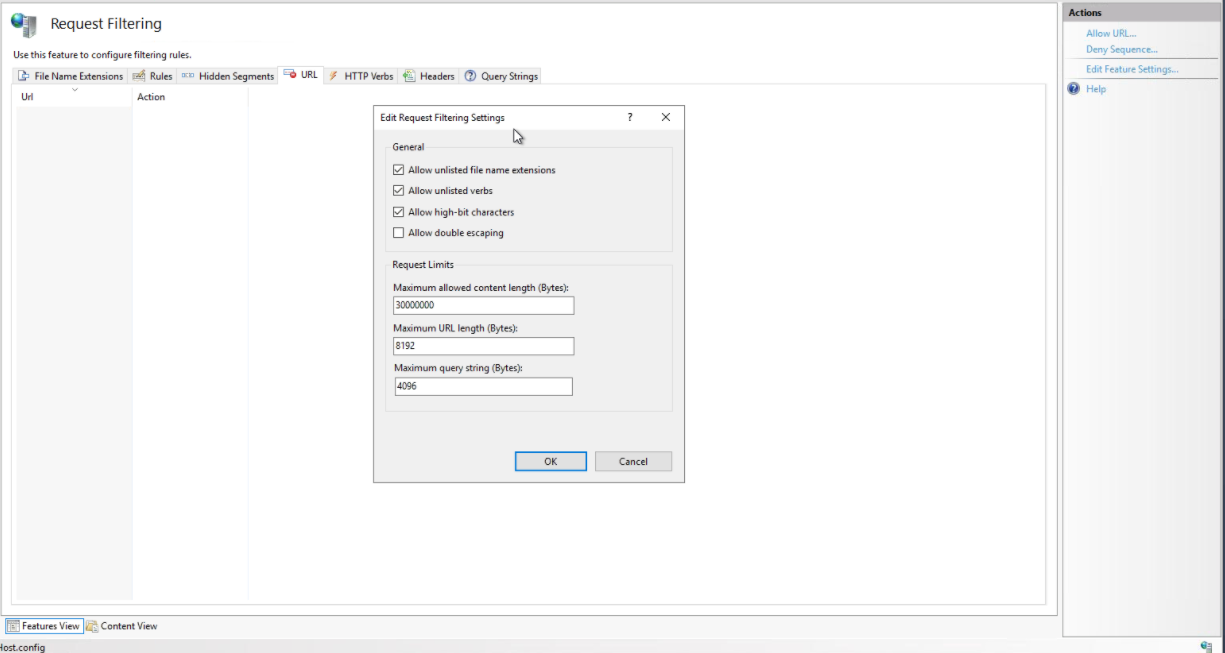
Max query string
It is recommended to increase the Maximum query
string size to about 4096 (Bytes), otherwise you might
experience 404 error pages in the end-users portal.
Configure IIS for PHP
Installing Fast-GCI for IIS 6
IIS 6 is the version of IIS that comes with Windows XP and Windows Server 2003. The process is quite similar for IIS7 (see the Useful Links & References below)
-
Download IIS's Fast-CGI installer from: http://www.iis.net/download/FastCGI. Pick the version (32 or 64-bit) suitable for your system.
-
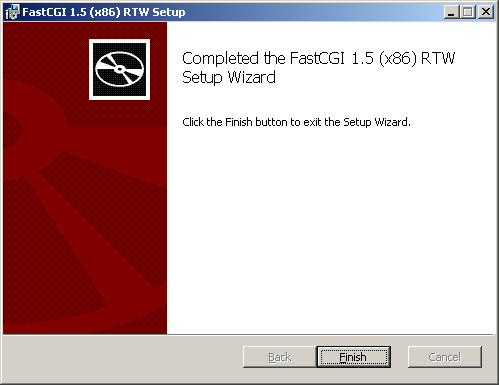
Start the installation by launching the .msi installer
Installing and configuring PHP
-
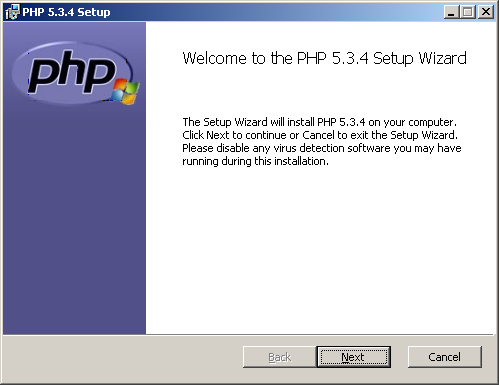
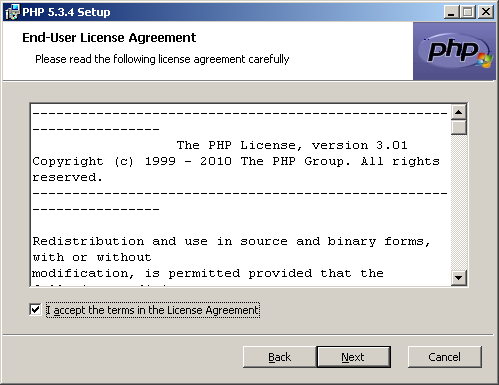
Download PHP from http://windows.php.net/download/. Select the appropriate version for your system (32 or 64-bit), and pick the Non Thread Safe version. If you don't know between VC6 and VC9, pick the VC6 version.
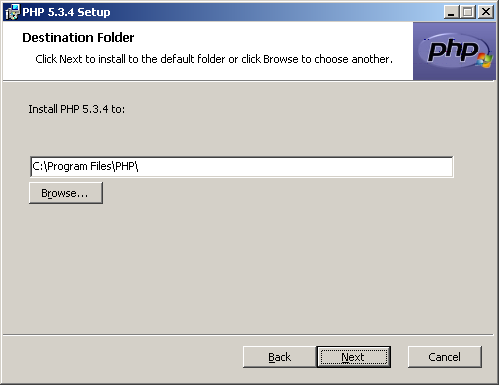
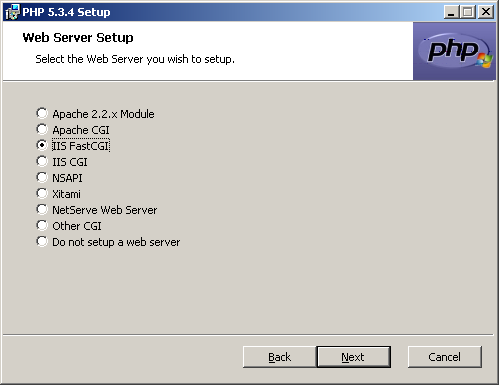
Select the IIS Fast-CGI interface:
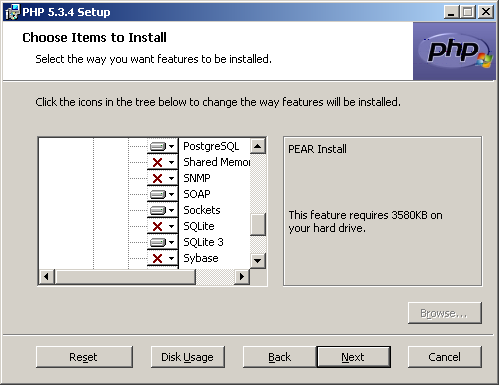
Make sure that you select the “SOAP” extension which is not enabled by default. Also In the “Extras” section, check the “PEAR Install”.
Then register the FastCGI extension for the whole web site:
cd %windir%\system32\inetsrv
cscript fcgiconfig.js -add -section:\"PHP\" -extension:php -path:\"C:\Program Files\PHP\php-cgi.exe\"
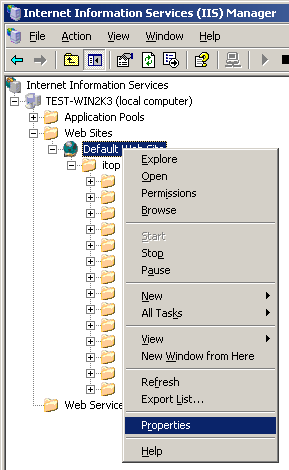
Open the Internet Information Service (IIS) Manager (either from the start menu “Administrative Tools/Internet Information Services (IIS) Manager” or right-click on “My Computer” then “Manage” and “Services And Applications/Internet Information Services (IIS) Manager”) and right-click on the “Default Web Site”. Then choose “Properties”.
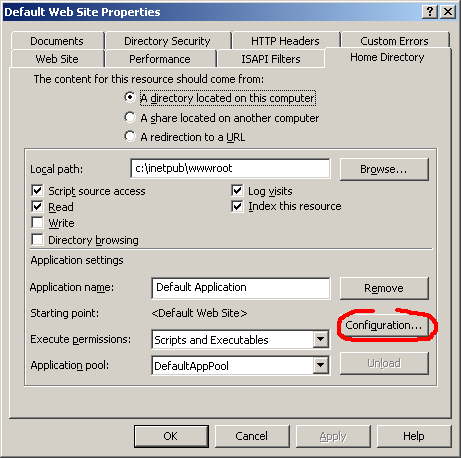
Then click on the tab “Home directory” and click on the “Configuration…” button:
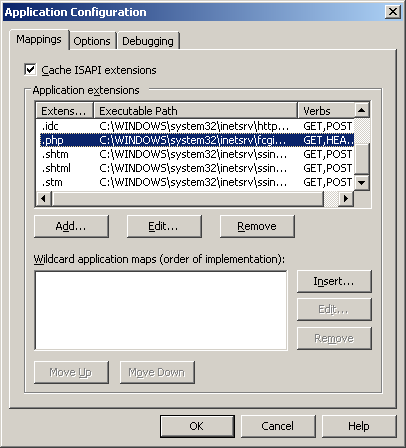
Check in the “Mappings” tab that there is an entry for the “.php” extension.
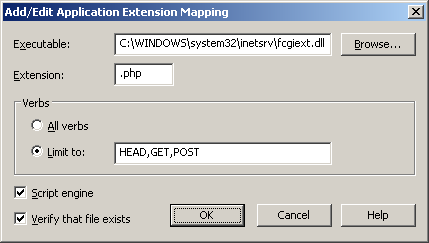
If not, press the “Add…” button and fill the form as below (adjust the path to the correct location of fcgiext.dll)
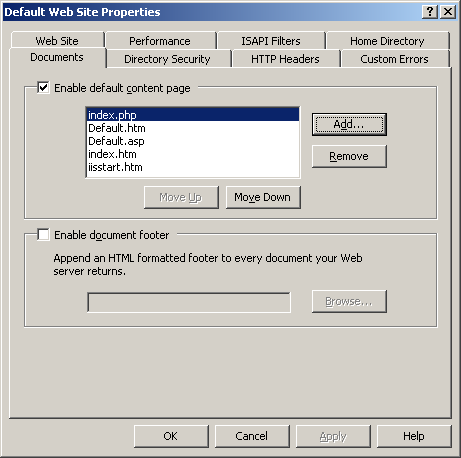
Go back to the “Documents” tab and check that “index.php” is present, at the top of the list. if it's not there, add an entry for it using the “Add…” button.
Useful Links & References
-
php.iis.net Explanations about how to run PHP applications on Windows using IIS
-
Using FastCGI to Host PHP Applications on IIS 6.0, by Ruslan Yakushev

