Notifications: a step by step example
This chapter explains, step by step, how to configure a notification in order to send an email when a User Request is assigned to an agent. The notification will be sent to the “Agent” to which the ticket has just been assigned.
Go to the “Admin tools / Notifications” page, in the “Triggers” tab click on the “Create a new Trigger” link (if there are no triggers already) or click on the “New…” button to create a new Trigger.
When prompted about the type of Trigger to create, select “Trigger (on entering state)”:

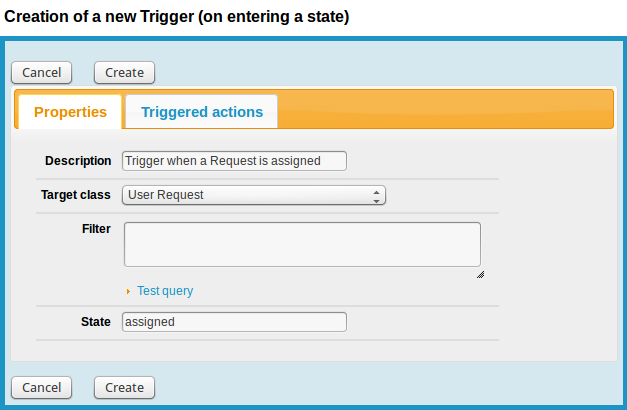
Click apply to pick this type of Trigger, and when prompted fill the fields as follows:
| Field | Value |
|---|---|
| Description | Trigger when a Request is assigned |
| Target class | User Request |
| Filter | Leave this field empty. |
| State | assigned |

Then click Create.
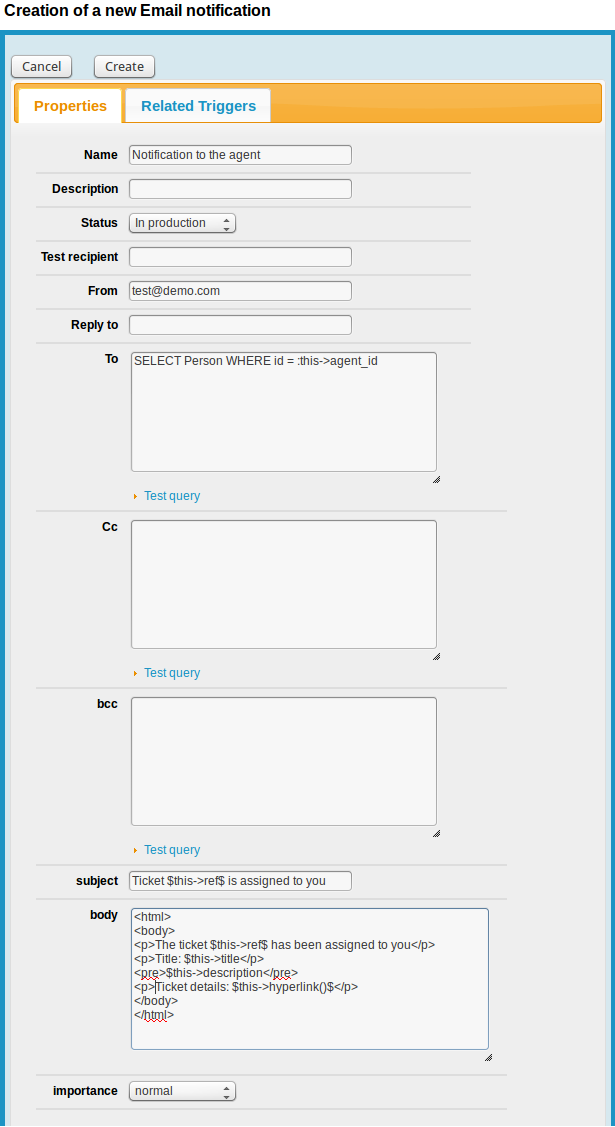
Click again on the “Notifications” menu, but this time switch to the “Actions” tab and click “New…” to create a new Email Action. Fill the fields as follows:
| Field | Value |
|---|---|
| Name | Notification to the agent |
| Status | In production |
| From | put a valid email address otherwise your mail server may reject the email |
| To | SELECT Person WHERE id = :this->agent_id |
| Subject | The ticket $this->ref$ has been assigned to you |
| Body |
<html> <body> <p>The ticket $this->ref$ has been assigned to you.</p> <p>Title: $this->title$</p> <pre> $this->description$ </pre> <p>Ticket details: $this->hyperlink()$</p> </body> </html> |

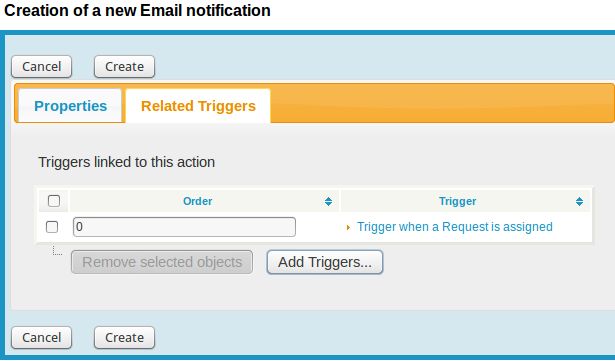
Then switch to the “Related Triggers” tab and relate this notification to the trigger you've just created:

And click “Create”.
That's it.
